


Roof Mounting of Solar Pool Heaters
Clicking on an image will open it full size in a new window.
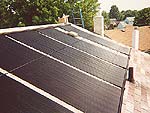
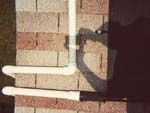
Top clamps are installed across the roof with a slight pitch to allow for complete draining of the panels. Silicone is applied under the clamps and then over the top of the screw heads. Brackets, panel clamps and screws are all stainless steel. Solar panels are then hung from the top mounting clamps.
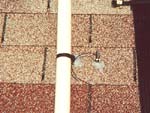
Shown is detail of one of the bottom connector hoses. Wide space between panels is to allow for obstructions on the roof, in this case there are roof vents to clear.
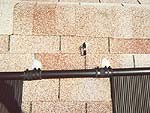
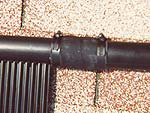
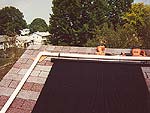
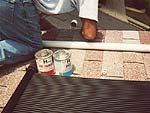
Photo on the left shows the top corner of the solar panel array with return water pipe to the left. Note that cardboard is always placed under fittings when glue is applied to prevent roof damage.
The photo on the right demonstrates how roof vents can be cleared with spacer pipes.
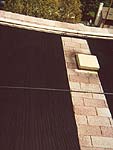
Left photo shows a view of panels and hold down strapping installed to prevent lifting by the wind.
Right photo shows detail of strap end clamp, return water pipe with hold down clamp and solar collector panel sensor (center). This sensor will be connected to the solar control unit to operate the control valve.
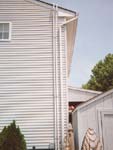
View from side of house showing a typical installation with piping coming down the side of the house near a rain gutter downspout. Plastic clic clamps are used to alleviate rusting and allow for easy removal of pipes for painting of house and any other maintenance necessary.
Left photo shows a view of the piping as it reaches the top of the house to connect with panels.
Photo on right shows the completed view of connections to side of house piping and panel piping.
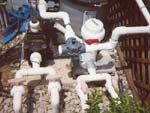
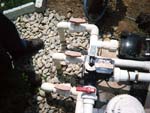
To the left, partial installation of the solar control valve to pool filter and feed line to pool panels connected is shown. Note shutoff valve on feed line (red handle) to panel feed.
To the right, the completed installation of solar control valve with motorized unit installed.
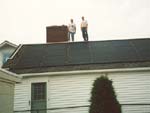
A typical completed installation, completed in about 6 hours with two men.
For additional information contact:
Solar Living, Inc
P.O. Box 1174
Fair Lawn, NJ 07410
(973) 691-8483
info@capturethesun.com


Solar Hot Water | Solar Pool Heating | Photovoltaic
Hybrid Systems | Service | Components
Copyright 2001-2024
Solar Living, Inc.